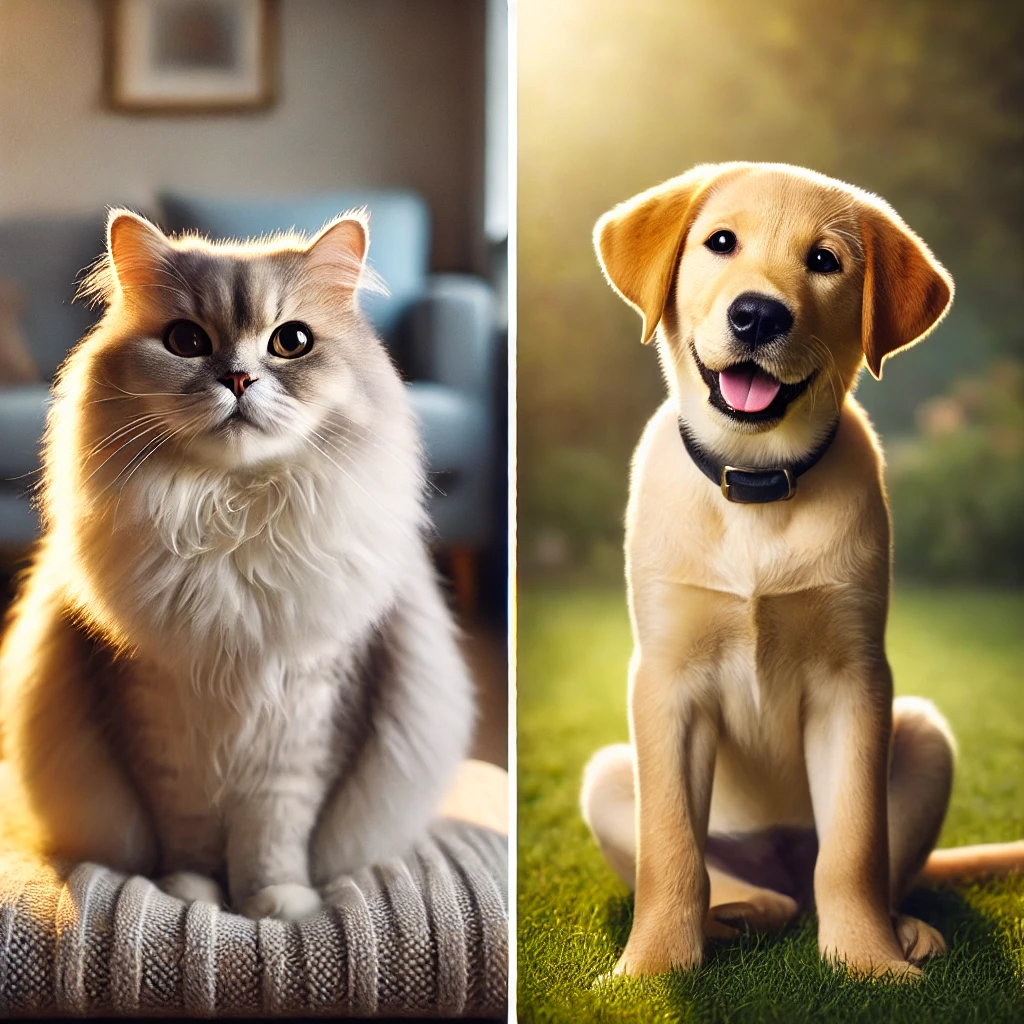
In this workshop, we will walk you through creating an image classification system that can predict whether an image is of a cat or a dog. This is a great beginner-friendly project for anyone looking to explore deep learning and image classification.
We will use Python’s Keras library, which provides a high-level interface to TensorFlow, making it easier to build and train deep learning models.
Step 1: Downloading the Dataset
We’ll be using the famous Cats vs Dogs dataset from Kaggle, which contains 25,000 images of cats and dogs. You can download it from the following link:
Kaggle Cats vs Dogs Dataset ⤴️
Once you’ve downloaded the dataset, extract it into a folder. This dataset is already labeled: each image is named with either “cat” or “dog” in its filename, making it easier for us to label the data during training.
Step 2: Setting Up the Environment
Before we start coding, make sure you have the following libraries installed:
pip install tensorflow keras numpy matplotlibThese libraries provide the necessary functions for building and training the model, managing arrays, and visualizing data.
Step 3: Importing Libraries and Preparing Data
We’ll first import the necessary libraries and prepare the dataset for training.
import os
import numpy as np
import tensorflow as tf
from tensorflow.keras.preprocessing.image import ImageDataGenerator
import matplotlib.pyplot as plt

# Paths
train_dir = 'path_to_your_dataset/train'
validation_dir = 'path_to_your_dataset/validation'

# Image augmentation and rescaling
train_datagen = ImageDataGenerator(rescale=1./255, rotation_range=40, width_shift_range=0.2,
                                   height_shift_range=0.2, shear_range=0.2, zoom_range=0.2,
                                   horizontal_flip=True)
val_datagen = ImageDataGenerator(rescale=1./255)

train_generator = train_datagen.flow_from_directory(train_dir, target_size=(150, 150), batch_size=20, class_mode='binary')
validation_generator = val_datagen.flow_from_directory(validation_dir, target_size=(150, 150), batch_size=20, class_mode='binary')
Here, we use ImageDataGenerator to augment the training images and rescale the pixel values from [0, 255] to [0, 1]. The data augmentation helps reduce overfitting by generating new variations of the existing data.
Step 4: Building the Convolutional Neural Network (CNN)
Next, we’ll define a simple CNN with multiple layers to classify the images.
from tensorflow.keras import layers, models

model = models.Sequential([
    layers.Conv2D(32, (3, 3), activation='relu', input_shape=(150, 150, 3)),
    layers.MaxPooling2D(2, 2),

    layers.Conv2D(64, (3, 3), activation='relu'),
    layers.MaxPooling2D(2, 2),

    layers.Conv2D(128, (3, 3), activation='relu'),
    layers.MaxPooling2D(2, 2),

    layers.Conv2D(128, (3, 3), activation='relu'),
    layers.MaxPooling2D(2, 2),

    layers.Flatten(),
    layers.Dense(512, activation='relu'),
    layers.Dense(1, activation='sigmoid') # Binary classification: cat or dog
])

model.summary()
In this architecture:
- Conv2D layers extract features from the image.
- MaxPooling2D layers reduce the spatial dimensions, improving computational efficiency.
- Flatten converts the 2D matrix into a 1D vector.
- Dense layers perform the classification. The final layer uses a sigmoid activation since we have a binary output.
Step 5: Compiling and Training the Model
Now we’ll compile the model using the binary cross-entropy loss function and train it.
model.compile(loss='binary_crossentropy', optimizer='adam', metrics=['accuracy'])

history = model.fit(train_generator, steps_per_epoch=100, epochs=15, validation_data=validation_generator, validation_steps=50)- The adam optimizer adapts the learning rate during training.
- The training will run for 15 epochs, with 100 steps per epoch.
Step 6: Evaluating the Model
Once the model is trained, you can evaluate its performance using the validation data.
acc = history.history['accuracy']
val_acc = history.history['val_accuracy']
loss = history.history['loss']
val_loss = history.history['val_loss']

epochs = range(len(acc))

plt.plot(epochs, acc, 'r', label='Training accuracy')
plt.plot(epochs, val_acc, 'b', label='Validation accuracy')
plt.title('Training and validation accuracy')
plt.legend()
plt.show()
This code will generate a plot showing how the training and validation accuracy changed over time. Ideally, you want both to converge toward a high accuracy value.
Step 7: Saving and Loading the Model
To reuse the model later or deploy it in production, save it:
model.save('cats_vs_dogs_classifier.h5')You can later load it using:
from tensorflow.keras.models import load_model

new_model = load_model('cats_vs_dogs_classifier.h5')
Using a GPU: Why It Matters
Deep learning models can be computationally expensive to train. Utilizing a GPU drastically reduces the training time because GPUs can process many parallel operations efficiently.
| Hardware | Expected Runtime per Epoch (Approx.) |
|---|---|
| CPU (Intel i5) | 15-20 minutes |
| GPU (NVIDIA GTX 1050) | 2-3 minutes |
| GPU (NVIDIA RTX 3080) | <1 minute |
To take advantage of GPU acceleration, you’ll need to have TensorFlow configured to work with CUDA (NVIDIA’s parallel computing API). If you’re working in Google Colab, it automatically provides GPU support, which you can enable via Runtime > Change Runtime Type > GPU.
Conclusion
In this workshop, we’ve built a simple image classifier that can predict whether an image contains a cat or a dog. We utilized a convolutional neural network to extract features from images, and we trained the model with data augmentation to improve its generalization capability.
This project is an excellent introduction to image classification using deep learning. With a GPU, you can significantly speed up training, making it feasible to experiment with larger datasets and more complex models.
I, Evert-Jan Wagenaar, resident of the Philippines, have a warm heart for the country. The same applies to Artificial Intelligence (AI). I have extensive knowledge and the necessary skills to make the combination a great success. I offer myself as an external advisor to the government of the Philippines. Please contact me using the Contact form or email me directly at evert.wagenaar@gmail.com!
[SEO optimized]
